![]()
STILL - Reference Manual
Contents
User interface
Effects
- Adjust
- Enhance
- Blurs
- Photo effects
- Artistic effects
- Edge effects
- Distortion effects
- Light and shadows
- Masks
- Borders
Area effects
Graphic objects
Editing images
Applying effects
Making collages
Presets
Importing
Exporting
Installation
More help
Viewer Panel
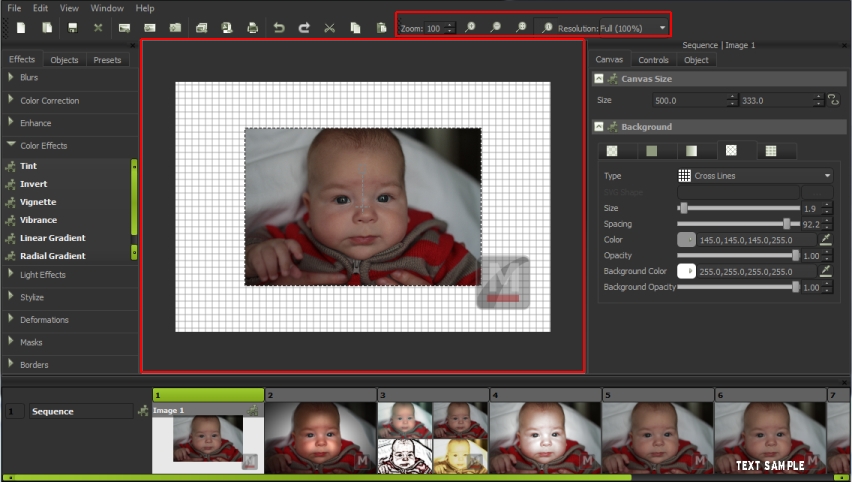
The Viewer is where the currently selected image is shown. The Viewer will render (apply effects and objects) the selected image and display the result.
It is also where you can insert, visualize and edit objects.
Controlling the Viewer
Zooming
Zoom In/Out: Ctrl + Mouse Wheel. Spinning the mouse wheel with the Ctrl key pressed will vary the zoom. You can also use the toolbar zoom spinbox to enter the desired zoom level.
Zoom to Fit
The Zoom to Fit button will scale up or down the image to the size of the Viewer window.
Original Size
By selecting the Original Size button, the Viewer will display the image unchanged.
Panning
Press Ctrl + Hold Right Button + Mouse Move.
If the image does not fit into the Viewer window you can pan the view
to see or zoom different areas of the image. Hold down the
Resolution
Changes the rendering quality of the viewer to Auto (default), 100%, 50% or 25%.
When rendering large images it is often useful to reduce the resolution for faster previews. The Auto mode will automatically determine the best resolution based on the size of the image and the effects complexity.
This will not affect the quality of the exported media.
Effects On/Off
Enables of disables effects preview. When disabled only images and graphic objects are rendered. Disabling effects preview may be useful when designing collages from images with many effects applied on them.
By default effects preview is enabled. Will not affect the quality of the exported media.
Editing Objects inside the Viewer
Once an object is added to an image, it becomes visible inside the Viewer as an empty white bounding box that can be moved or resized to the desired dimensions. The content of the object (such as the source image or vector file) will be displayed when the object is selected and an editing action is in progress.
Editing using the mouse
Selecting
Press the Mouse Left Button inside the object's bounding box to select it. A selected object will display a red bounding box around it.
Moving
Hold Mouse Left Button inside the object + Mouse Move. The position of an object is relative to center of the object and to the top-left corner of the canvas. You can use the horizontal and vertical ruler as a guide.
Resizing
Hold Mouse Left Button over a border + Mouse Move.
When the mouse hovers the borders or the corners of an object you will notice that the mouse pointer changes into an arrow. This tells you that a resize action is available. Hold the left button of the mouse pressed when the arrow pointer is visible and drag it to the desired position.
Dragging a border will resize one dimension of the object while the dragging the corner will change the height and width of the object.
If you wish to preserve the current aspect ratio of the object, hold the
Editing the Object's Content
For image objects, the content of the image can also be edited. The source image of an image file object can be scaled, rotated and translated. Note that transforming the content of an Image File object refers to the image and not the object's bounding box. If you want to change the dimension of the objects use the Size parameter.
Scaling
Hold Shift + Mouse Wheel. Scales the image up or down (from 0 to 10 times).
Rotating
Hold Shift + Ctrl + Mouse Wheel. Changes the angle of rotation around the center of the image.
Panning
Hold Shift + Mouse Move. Offsets the image horizontaly and verticaly from the center of the object.
Object's popup menu
Right click on an object to open the object popup menu. The available object actions are:
Enable/Disable
Disabling an object will exclude it from rendering and hide it from the Viewer. If you want to re-enable it you will have to do this from the Parameters panel.
Reset to Default
This action will reset the object's parameters (such as size and position) to their inital values.
Lock
This action will make the object unselectable and non-editable in the viewer.
Cut (Ctrl+X)
Remove the object from the image and put it onto the clipboard.
Copy (Ctrl+C)
Put a copy of the object onto the clipboard. The copy will preserve all the parameter values of the original.
Paste (Ctrl+V)
Paste the object found on the clipboard into the currently selected image. The pasted object will have the same position and dimensions as the original.
Duplicate (Ctrl+D)
Create a copy of the object and paste it into the currently selected image.
Rename (F2)
Change the name of the object.
Delete (Del)
Remove an object from the image.
Fit to Canvas
Resize the object to the dimensions of the canvas.
Ordering
Objects are rendered in the order they have been added, meaning that the last added will overlap the previous. The order can be changed by Bringing to Front (PageUp key) or Sending to Back (PageDown key) the selected object. You can also change the order of the objects by dragging the effect up or down inside the Controls tab in the Parameters panel.
Filters
Add an effect to the selected object (same as dragging an effect from the Effects Toolbox).
Presets
Apply a preset to the selected object (same as dragging a preset from the Presets Toolbox).