![]()
STILL - Reference Manual
Contents
Tutorials
- Getting started with STILL
- Adding a text and vector watermark to a batch of photos
- Automatically resize and crop a batch of images
- Batch convert camera RAW files to another image format
- Designing a photo album with STILL
More help
Adding a text and vector watermark to a batch of photos
This tutorial demonstrates how to add text and vector watermarks to multiple photos at once.
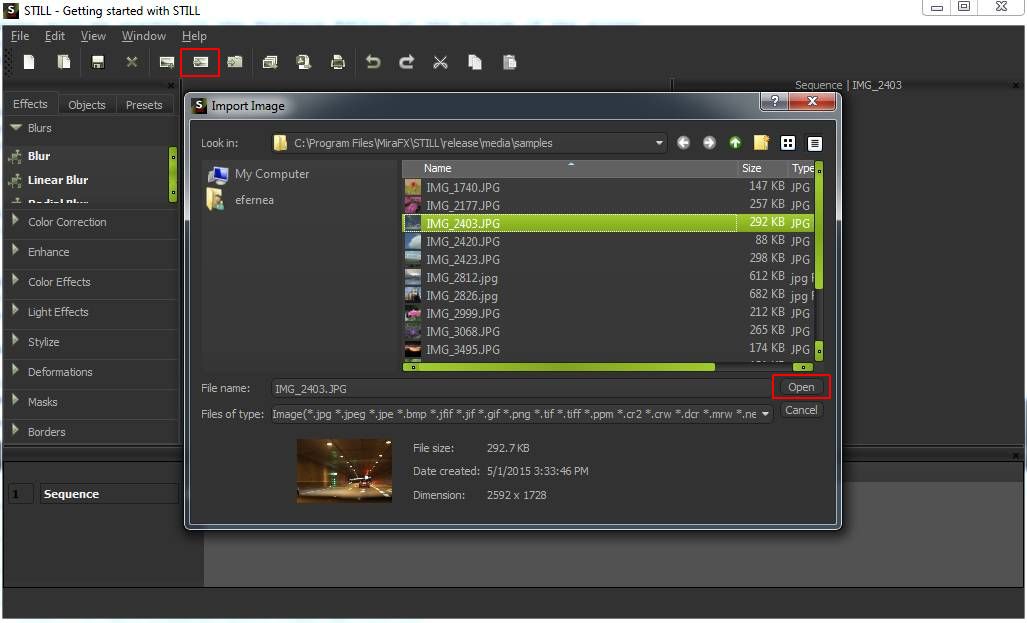
Importing photos into STILL
Select File > Import Image or click the [Import Image] tool button and browse to the location where
your image files are located. Select one or more images and click on the Open button.
The imported images will be visible in the "Thumbnails browser" at the bottom of the screen. You can now select
an image you want to preview by clicking on a thumbnail in the Thumbnails browser. Upon selection the image will
appear in Viewer (the central section of the window). The Viewer lets you zoom in and out using the
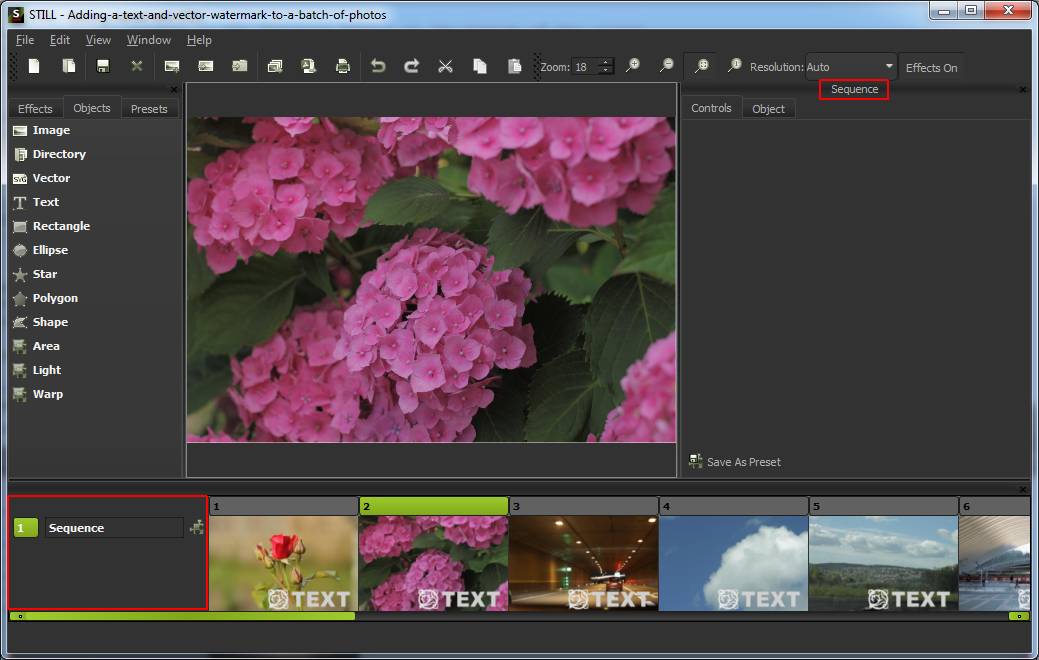
To begin adding text or vector files to a batch of images, select the Batch header by clicking on the header located at the left of the "Thumbnails browser". The Batch header is selected when the square button before the "Batch" label has a green color.
When the Batch header is selected, the Viewer and the Controls panel will display the objects applied to the sequence. Clicking on an image thumbnail will deselect the Batch header and the Viewer will display the objects of the selected image.
Adding text to the image sequence
Right click the Batch header and choose Objects > Text tool from the context menu or drag and drop the
"Text" object from the "Objects" toolbox onto the Batch header.
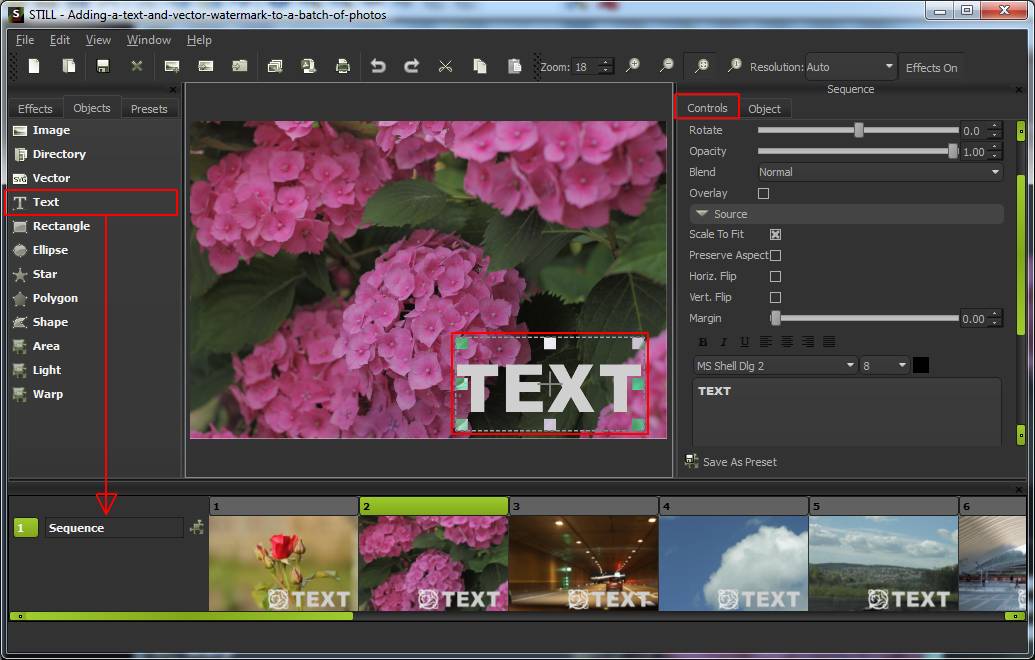
The inserted text object will appear inside the Viewer where it can be visually moved, resized, scaled and rotated. To edit and format the text, open the "Controls" tab in the "Parameters panel" and locate and expand the object editor named "Text". The text editor allows you enter a text, choose a font and color, adjust the opacity and select a blending mode.
Adding a vector to the image sequence
Right click the Batch header found to the left of the Thumbnails browser and choose Objects > Vector
tool from the context menu or drag the Vector object from the Objects toolbox onto the Batch header.
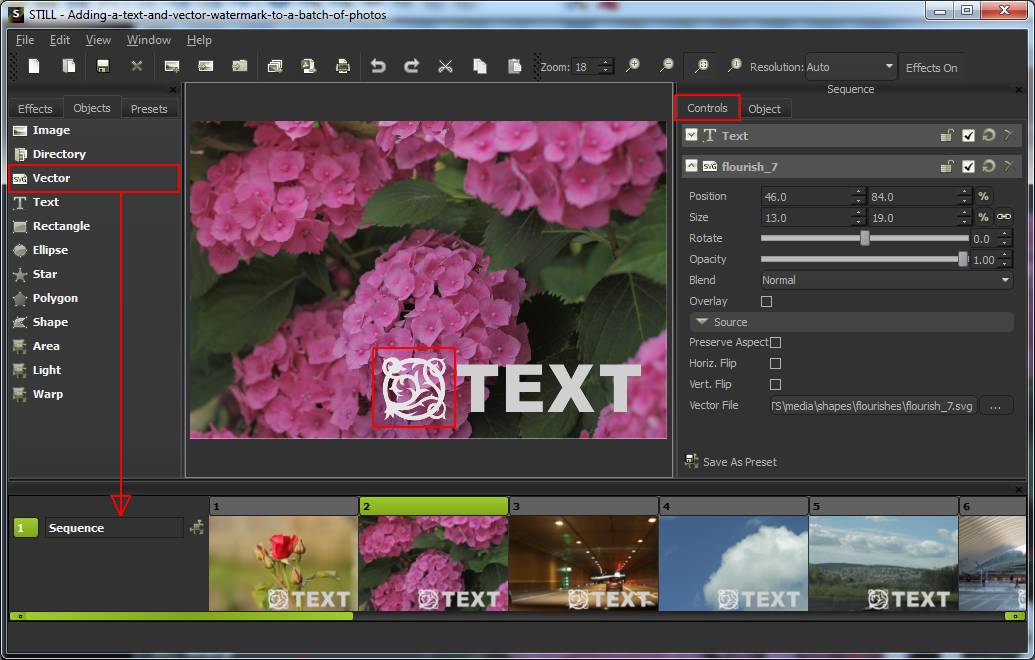
The inserted vector file will appear inside the Viewer where it can be visually positioned, resized, scaled and rotated. You can also adjust the opacity, blending mode and aspect ratio of the vector object from the "Controls" tab in the "Parameters panel".
Batch objects are applied to all the images in the sequence. Changing their parameters values will affect all these images. The size and position of an object are represented as a percentage of the canvas dimensions of an image. When applied to a sequence, the object is scaled and positioned relative to each image in the sequence, thus preserving proportions.
Exporting the image sequence
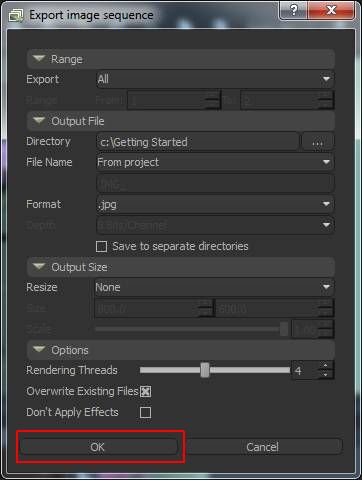
Select File > Export image sequence or click the Export image sequence tool button. The export dialog
box will open allowing you to select the directory where you want your images to be saved and several
export options.
Select the image range you want to export and an image format. Optionally you can resize the output images to new dimensions by setting the resizing method, the dimensions or the scale.
Click OK and wait for the progress bar to complete.
Download the sample project
Adding a text and vector watermark to a batch of photos.still